- v6.3
- 11/29/2021 by Daniel Neal
- Steps (12)
- Time Required (00:05:00 - 00:10:00)
- Difficulty (Easy)
- Tools Required (3/16 Ball Driver, 7/64 Ball Driver, 9/64 Ball Driver)
- Based on when your HLM was manufactured, you may have one of two types of landing gear. For Drones shipped prior to August 2025 please begin assembly at Step 1A.
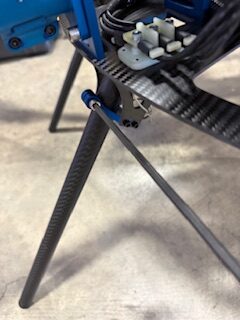
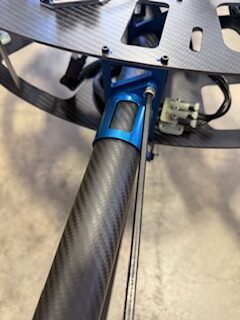
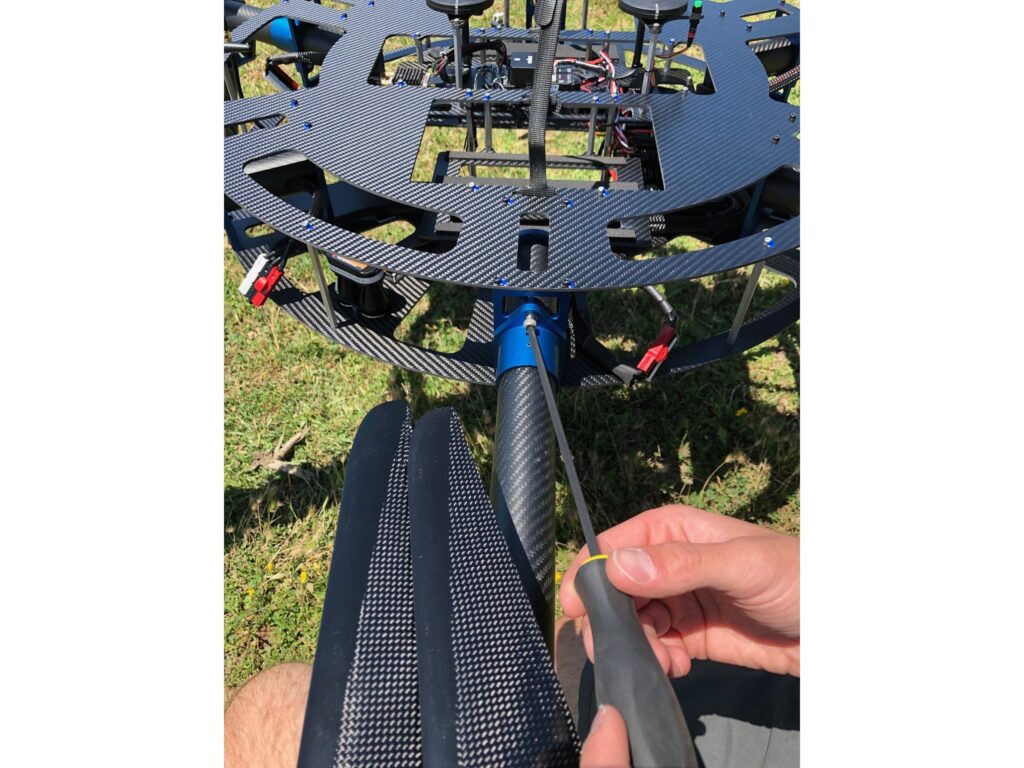
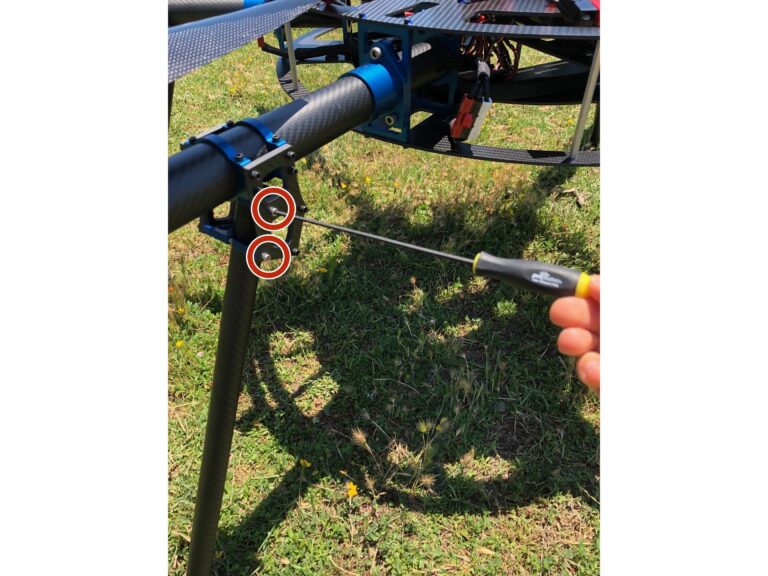
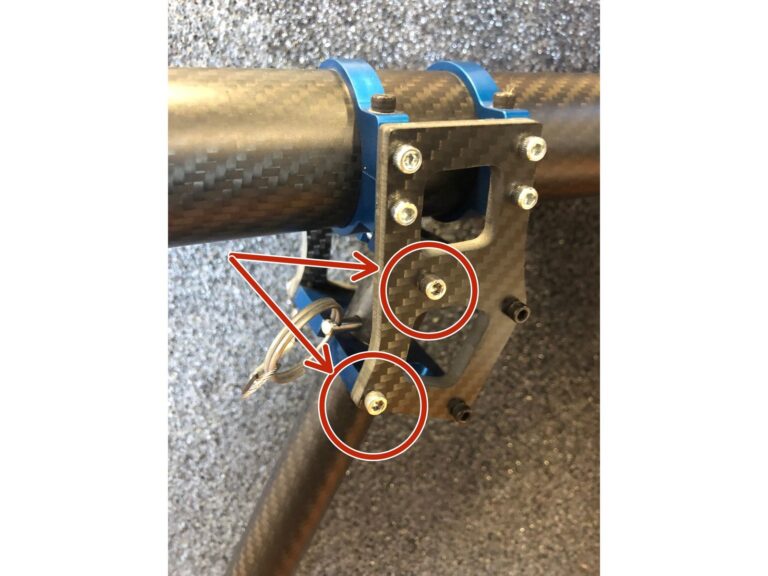
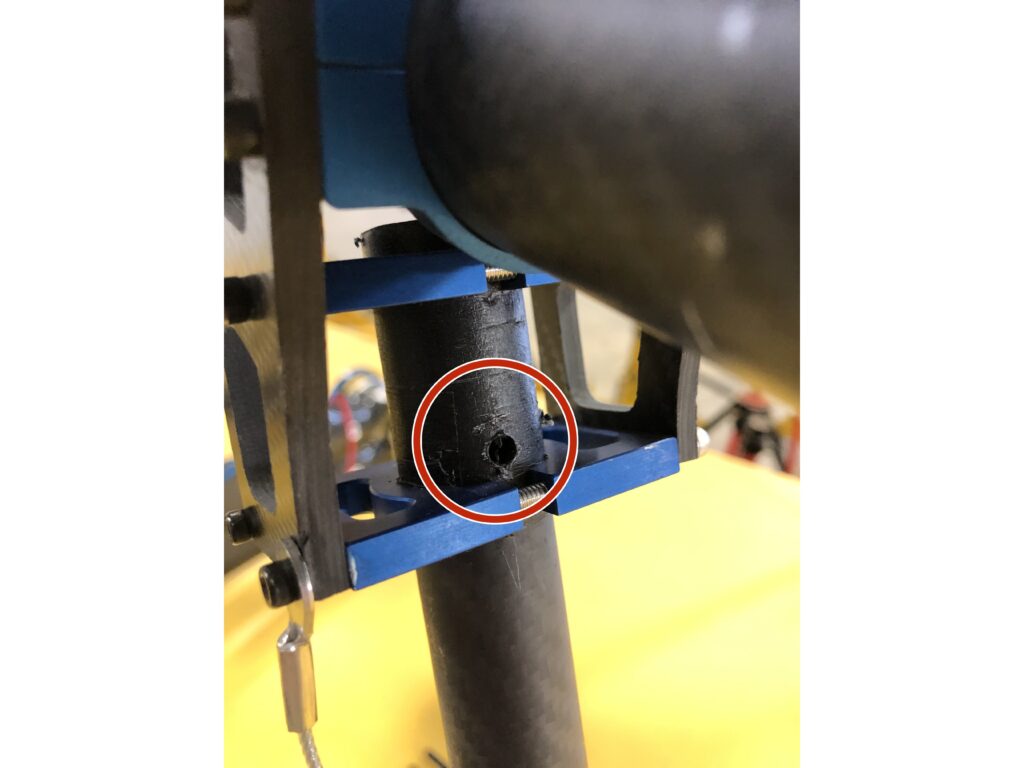
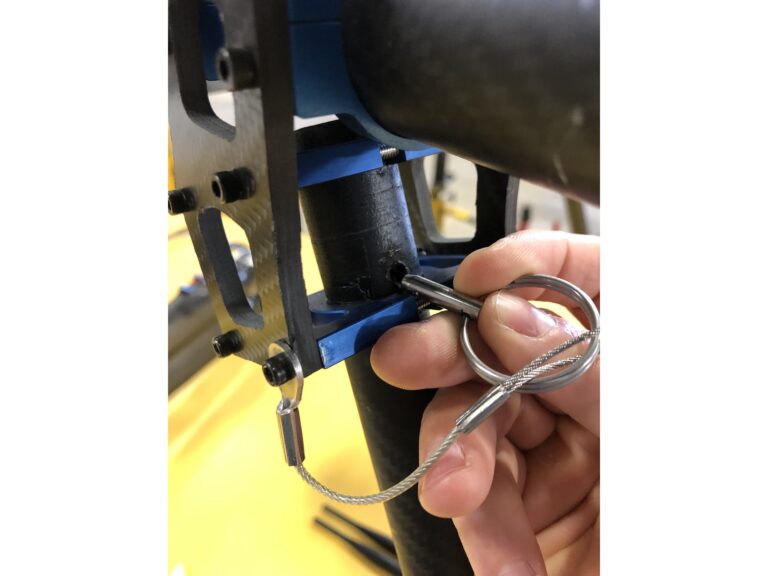
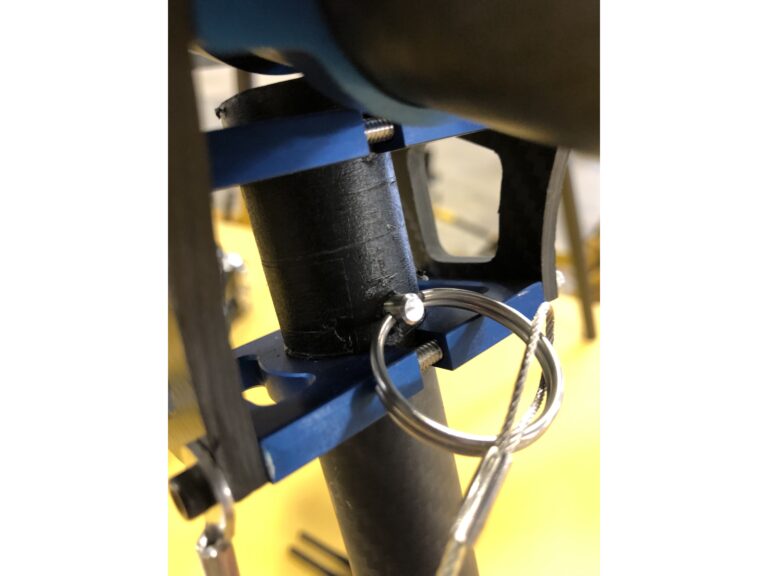
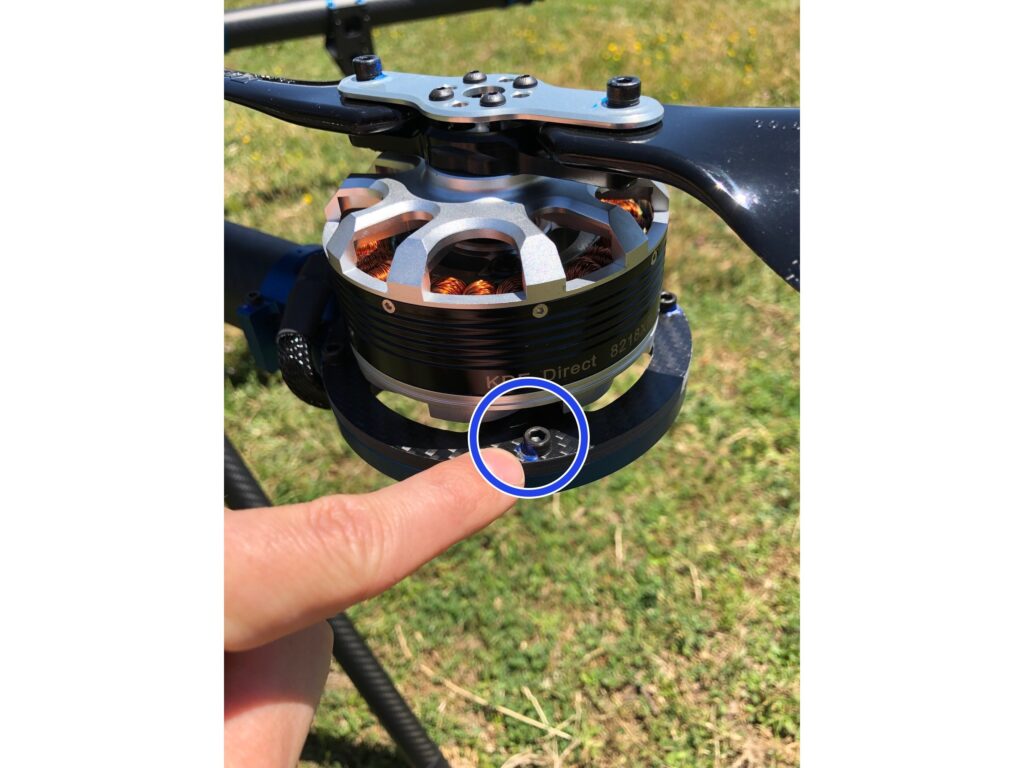
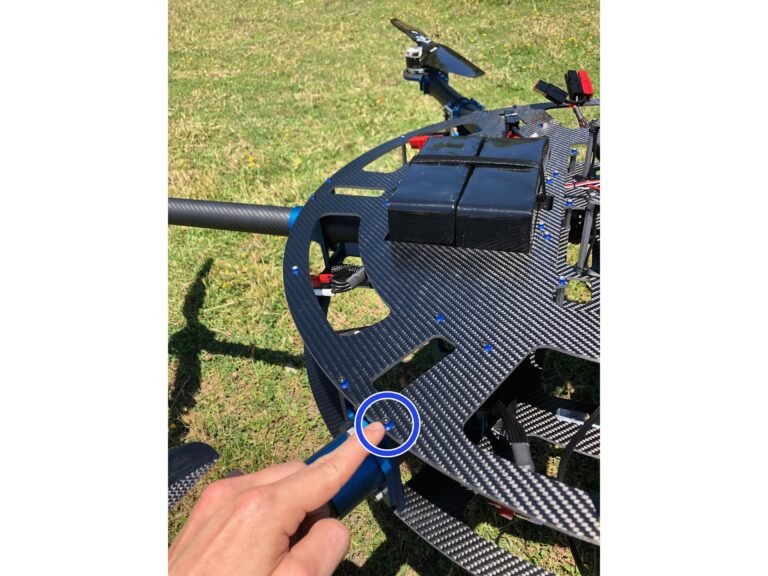
Using the included 3/16″ ball drive, secure the landing gear leg to the landing gear assembly using one of the included 1/4″-20 bolts
- Using the included 3/16″ ball driver, secure the arm to the frame using two included 1/4″-20 bolts
Click or Tap to expand images
- Based on when your HLM was manufactured, you may have one of two types of arm terminals. For Drones shipped prior to August, 2025 please start at Step 3A or Step 3B depending on your configuration.
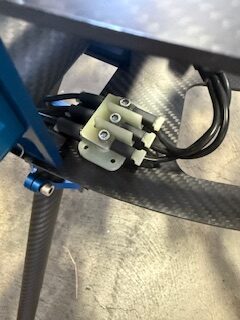
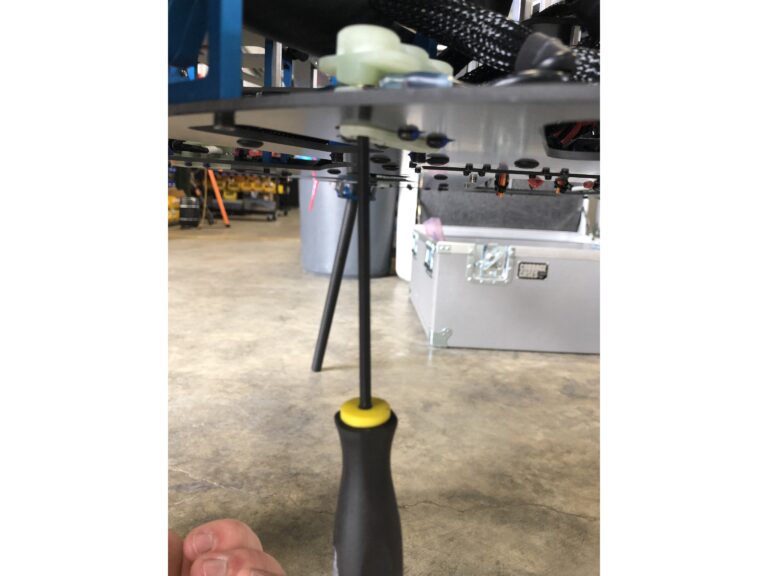
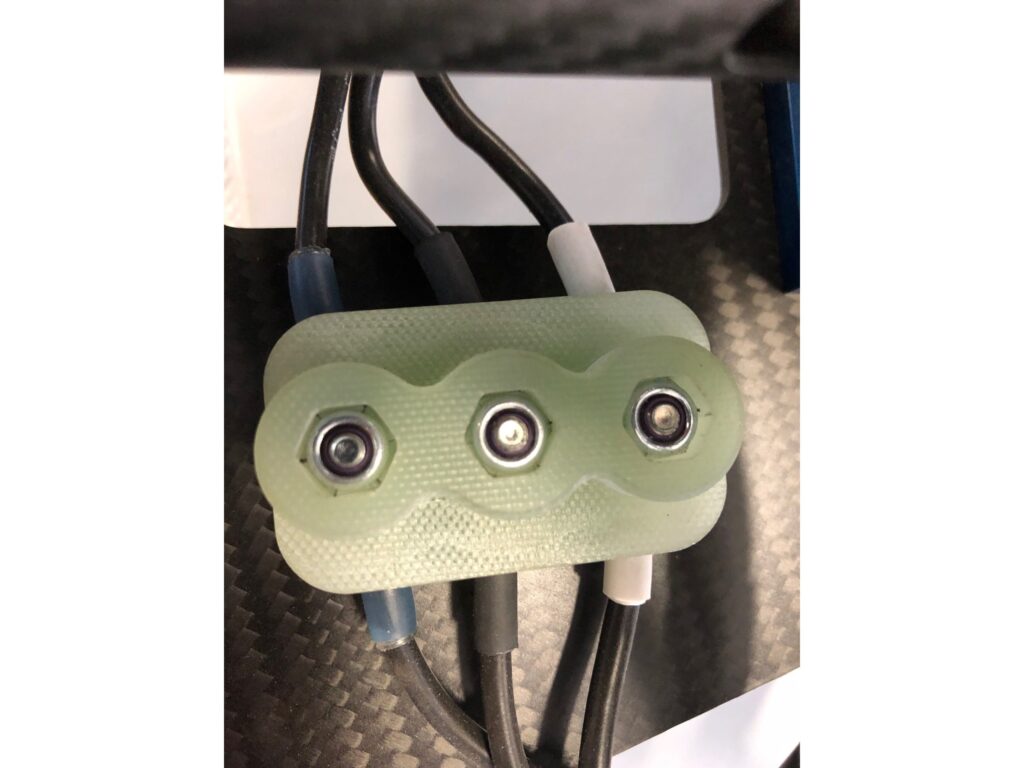
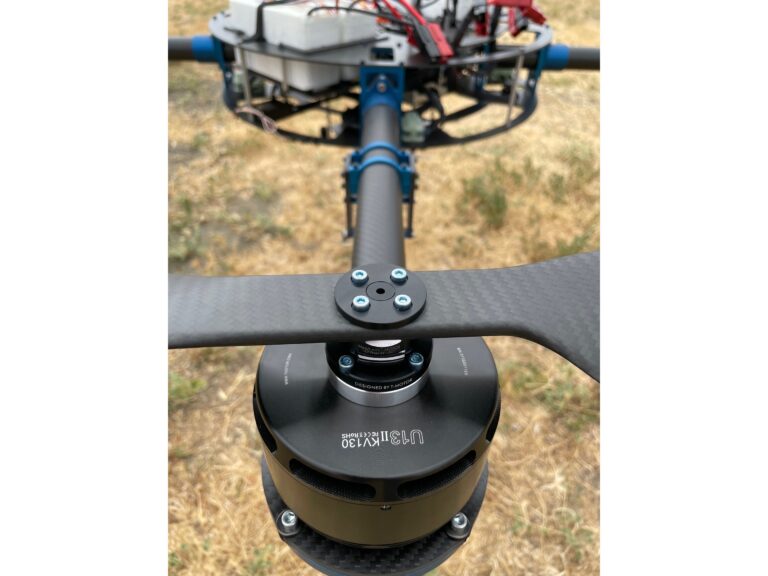
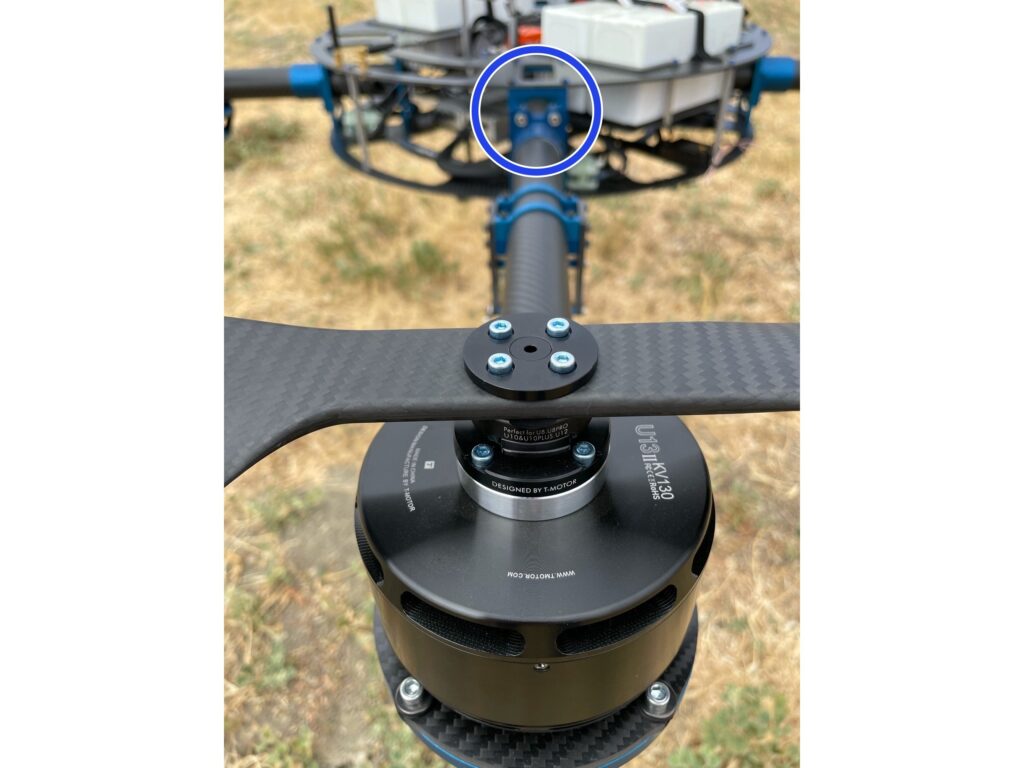
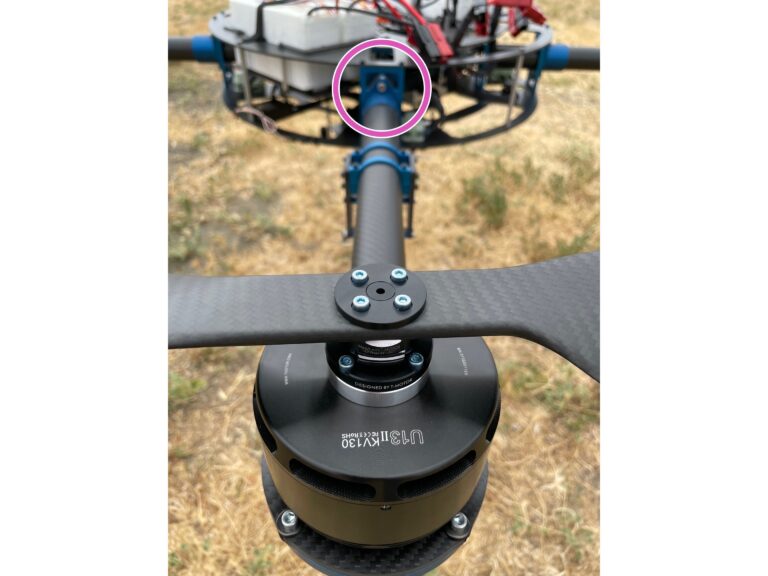
Using the included 9/64 ball driver, secure the motor arm 3-phase terminal block to the drone frame 3-phase terminal block.
- This is a one-way attachment, please check alignment carefully!
Click or Tap to expand images
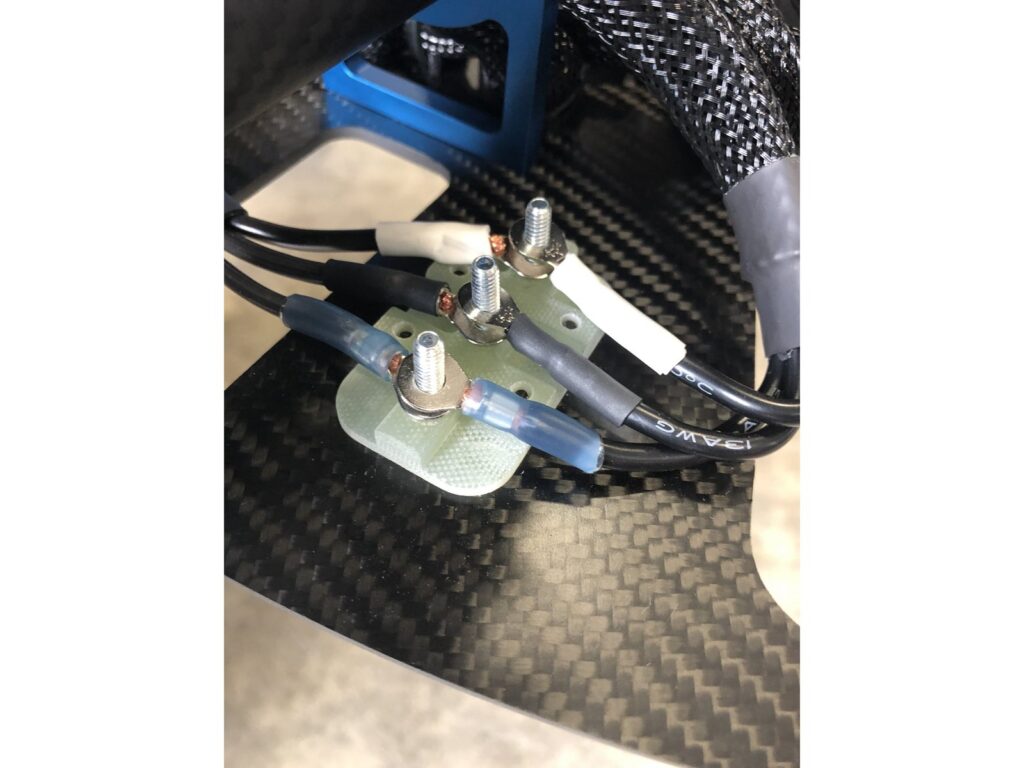
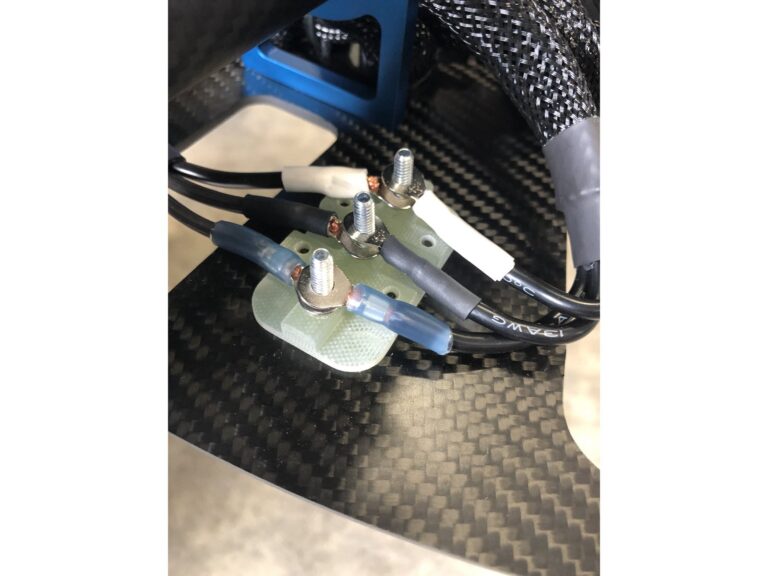
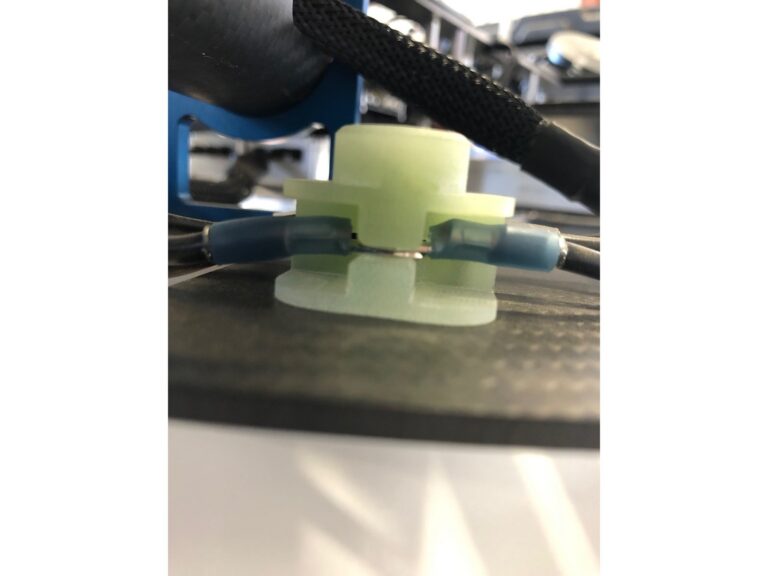
Ensure that the arm terminals are properly aligned (each terminal needs to stick straight out from the terminal block)
- If the terminals are not properly straightened, the terminal block cannot be fully tightened. This can lead to power loss to the arm in flight
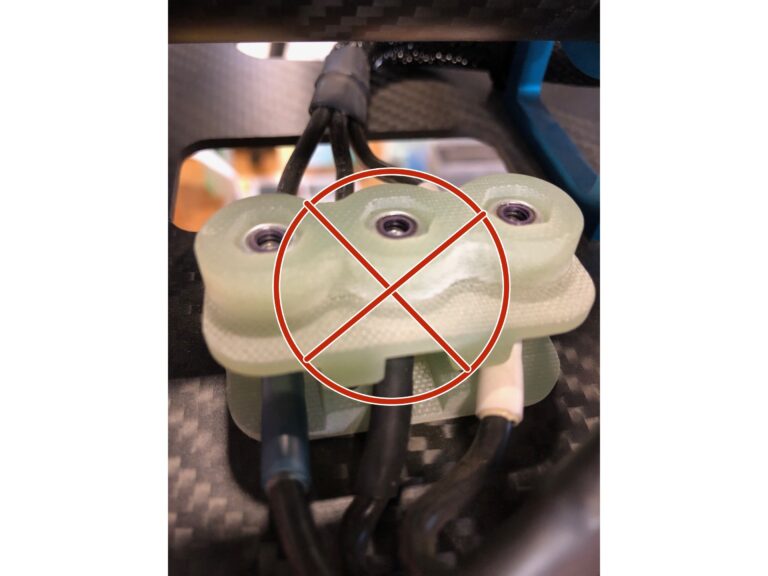
- Make sure that the terminal lines do not impede the terminal block from fully seating (if they are crossed they will be pinched by the terminal block when tightening). This can lead to sparking and power loss to the arm in flight. (Picture 3)
Click or Tap to expand images
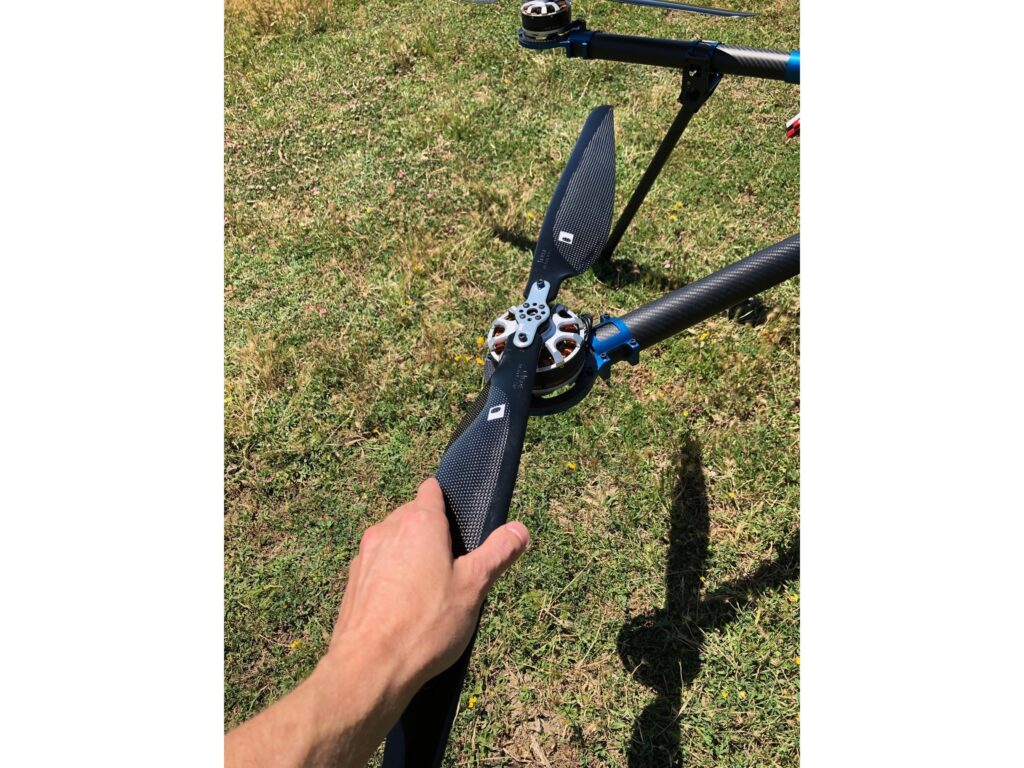
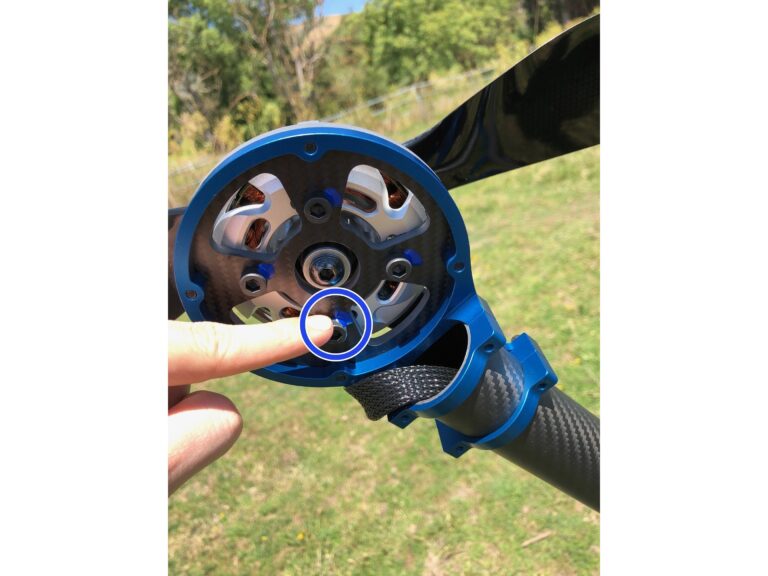
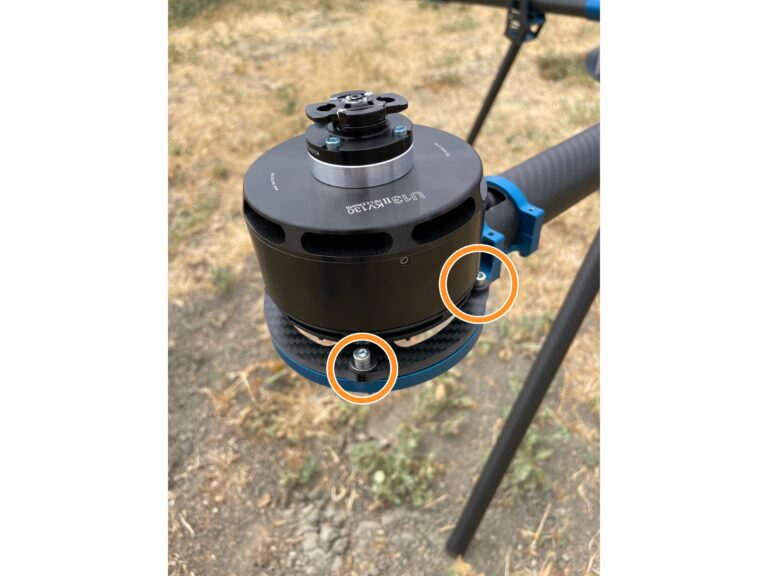
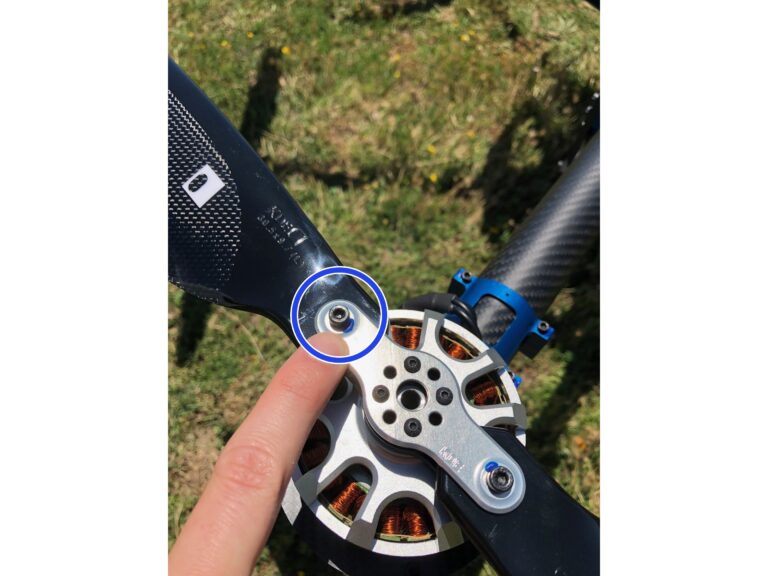
Line up corresponding marked propeller and quick adapters (clockwise propeller will be solid black, counter-clockwise propellers will have white markings)
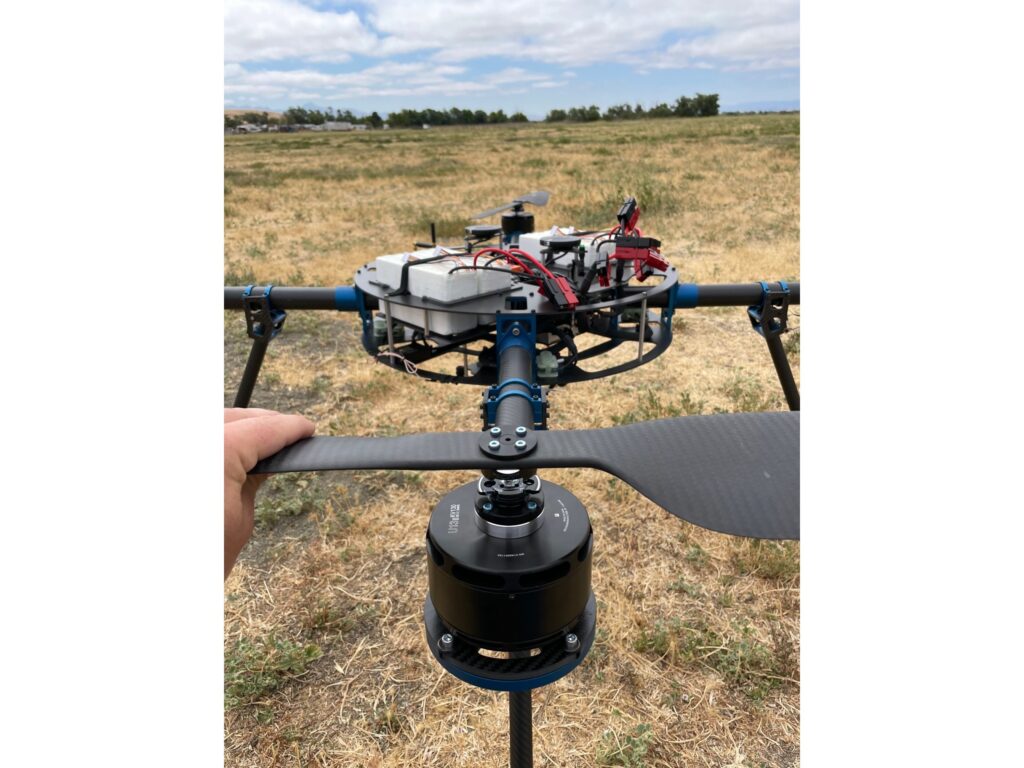
Line up the propeller parallel with the quick adapter tabs and press down
Rotate the motor counter to the propeller direction, the quick adapter tabs will “click” upwards
Ensure that the propeller has seated fully in the quick adapter, the quick adapter tabs will be in an up position
Click or Tap to expand images
Step 10
Payload
- Customer specific
- Ensure that your payload (if applicable) is safe for flight
